Create Schedule email
To create a schedule email, start by opening the Insider List module in the left-hand menu.
- Hover over Create at the very top and select Schedule email. The button may have a different name if this has been set under Module Settings.
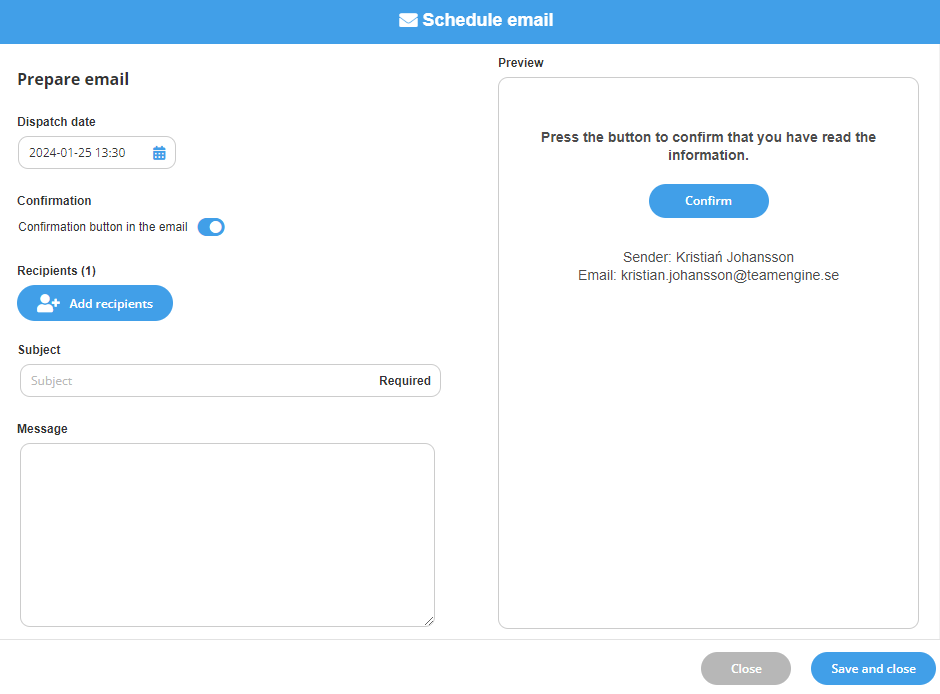
- Add a Dispatch date and time for when the email should be sent.
- Choose if the email should contain a button to confirm that the recipient has read the content.
- Click on Add Recipients to select the individuals to send the email to. It is possible to choose from among the individuals found under the Insiders tab in your Insider Manager.
- Enter the Subject and Message for the actual email to be sent. You can also see how the email will look in the Preview section.
- Click on Save and close. The email saves and will be sent on the date and time selected.